Laser Cutting
In this page, I will describe:
The 4 important hazards associated to the operation of laser cutting machine and their respective safety control measures (administrative/engineering control).
The materials that can be cut and can’t be cut using laser cutting machine.
The steps including pictures on the operation of UNIVERSAL laser cutter, that consist of:
Starting the compressor, turning on the laser cutter machine and fume extractor.
Importing a .DXF file to coreldraw and modify the lines/fill for cutting and engraving.
Sending the coreldraw drawing to laser cutter software and setting the laser cutter power, speed, PPI in the software.
Starting the job on the laser cutter machine.
DOs and DONTs when there’s flame/fire on the material being cut.
My Learning reflection on the laser cutter activities.
These are the 4 important hazards and the respective safety control measures on the operation of laser cutting machine:
Hazards
Safety control measures
Pictures to support the explanation
1. Fire hazards caused by the materials being burnt by the laser cutter
Fire extinguishers are placed at the entrance of the lab in case of a fire outbreak
Students are also briefed in how to use a fire extinguisher if the need arises

2. Potential damage to eyes when looking directly into laser cutter
Students are told to not look directly into the laser cutter
3. Accumulation of smoke or gases in the laser cutter when the laser cutter is in use
A smoke extractor is used to remove the gases when the laser cutter is in use to prevent accumulation
Students are also told to switch on the smoke extractor before they use the laser cutter

4. The lens of the laser cutter could crack of the lens is dirty
Students are to check if the lens is dirty and to inform the lab-in-charge if it is cracked
 (Cracked laser cutter lens)


Below are the materials that can be cut/engraved using laser cutting machine in FabLab.
Material
Photo of material
1. Acrylic (<5mm)

2. Plywood (<5mm)

3. Cardboard (<5mm)


Below are the materials that can’t be cut/engraved using laser cutting machine in Fablab.
Material
Photo of material
1. Metal

2. Foam

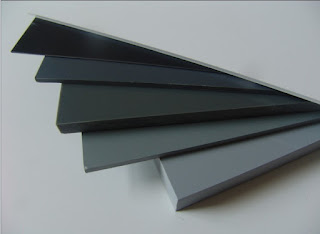
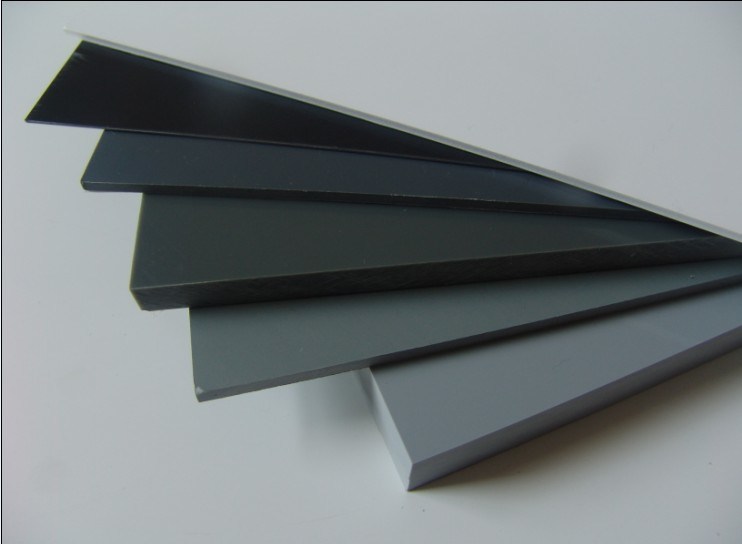
3. PVC (Polyvinyl Chloride)


Below are the steps on the operation of UNIVERSAL laser cutter machine in FabLab:
Starting the compressor, turning on the laser cutting machine and fume extractor.
Steps and description
Photos to support the description
Locate the switches for the air compressor and the fume extractor
Switch on the power for the laser cutter

Importing a .DXF file to coreldraw and modify the lines/fill for cutting and engraving.
Steps and description
Photos to support the description
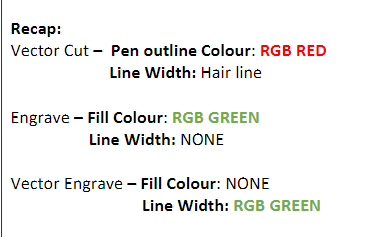
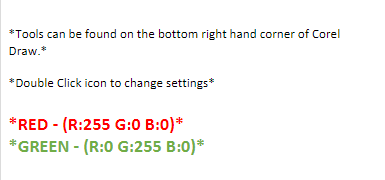
Select file > import > select your .DXF file and press importAdjust the settings to make either a vector cut, vector engrave or engrave
Add in the fill colour


Sending the coreldraw drawing to laser cutter software and setting the laser cutter power, speed, PPI in the software.
Steps and description
Photos to support the description
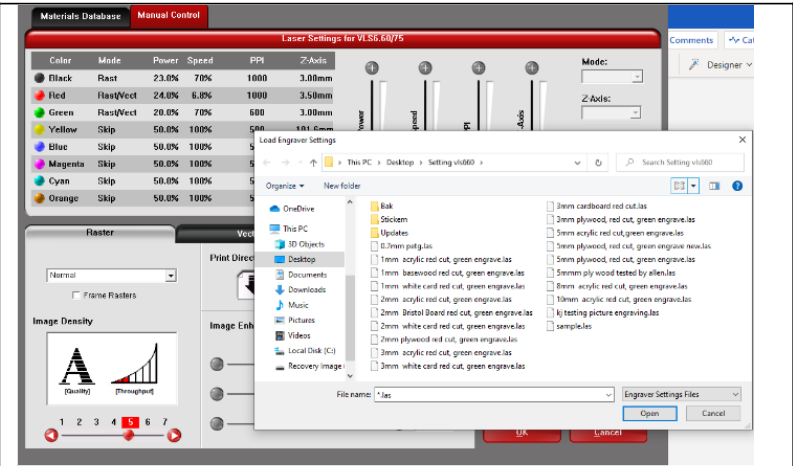
Click on File > Print and click on the cogwheel for settings
Click on LOAD to access more material settings and elect the presets that matches your material type and thickness and select open
Adjust the Power, Speed, PPI and Z axis and once done, click OK
POWER: describes the output power of the laser. For thicker materials, higher power is needed, whereas lower values are used for materials like paper.
SPEED: describes the movement of the laser head. Fast speeds lead to short exposure times, slow speeds lead to long exposure times.
PPI: a way to control how many times the laser pulses over a given distance during the cutting process. The higher the frequency, the more pulses you have and the more they will overlap, resulting in a smoother cut. However, the higher the frequency, the more heat it creates while cutting which can cause melting or charring on certain materials,
Z-Axis: set as the material height for optimal focus point


Starting the job on the laser cutter machine.
Steps and description
Photos to support the description
Using the built-in ruler, check the horizontal and vertical side of the ruler and using the 'Move' tool, move the object to an empty space of the material

With the lid still open, click as close as possible to the bottom right and top left corner of the file to ensure that the object is within the safe area cutting area


When the material is placed appropriately, shut the lid gently and either press the PLAY button on the UCP (Universal Control Panel) or the physical button on the laser cutter


DOs and DONTs when there’s flame/fire on the material being cut.
DOs and DONTs
Photos to support the description
DOS:
- Lift the lid of the laser cutter and stop the cutting procedure
- Try putting out the fire by blowing it out if the fire is negligible
- If the fire is unable to blow off, remove the material from the laser cutter, place it on the floor and step on it
- If the fire is incontrollable, go to the nearest fire extinguisher and put it out. Notify the staff immediately.


DON'T
-Leave the fire unattended and leave the laser cutter running


Below is my Learning Reflection on the laser cutter activities.
Comments
Post a Comment